DINKY 105 MAXIMUM SECURITY VEHICLE (1968-1974):
The MSV was the third Captain Scarlet and The Mysterons TV series vehicle produced by Dinky. The other vehicles the 103 Spectrum Patrol Car survived till 1975 and the 104 Spectrum Patrol Vehicle till 1976.

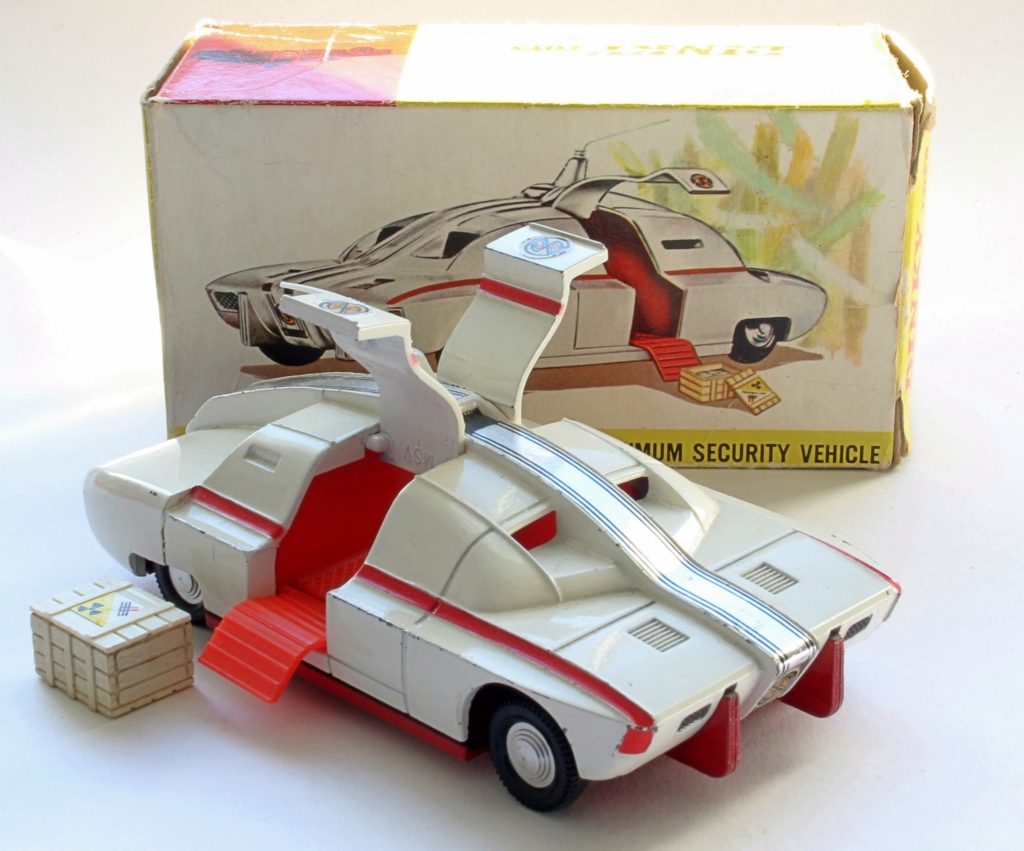
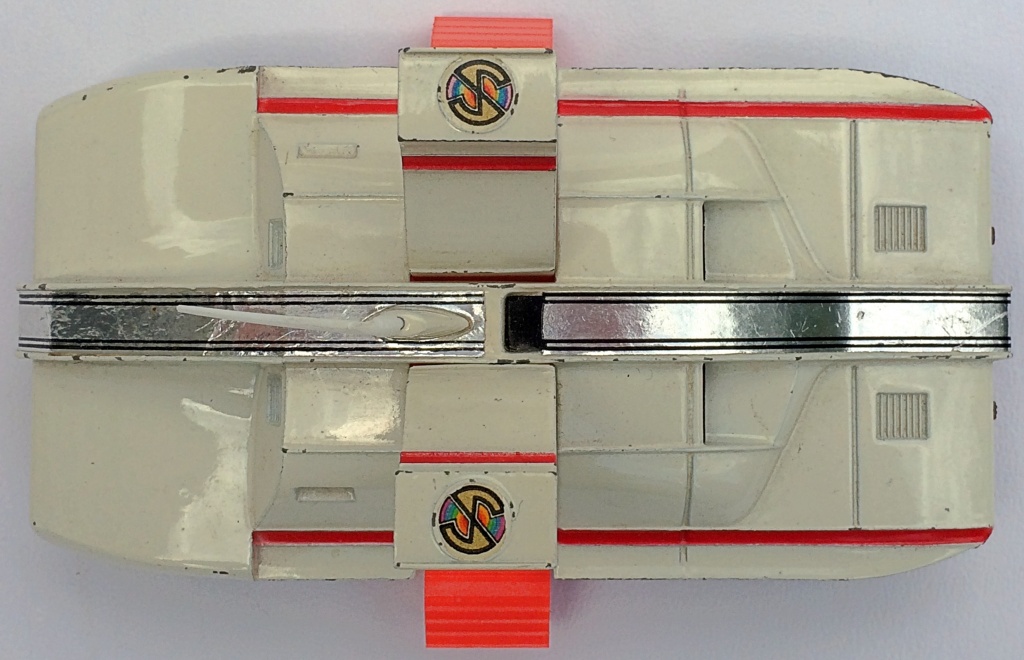
Perhaps it was the least popular of the three Captain Scarlet TV Series toys because it hardly featured in the TV programmes. The model was produced in an off white colour although the TV vehicle was grey. The vehicle featured opening side gull winged doors and carried a crate labelled ‘radioactive’.

DINKY 105 MAXIMUM SECURITY VEHICLE:
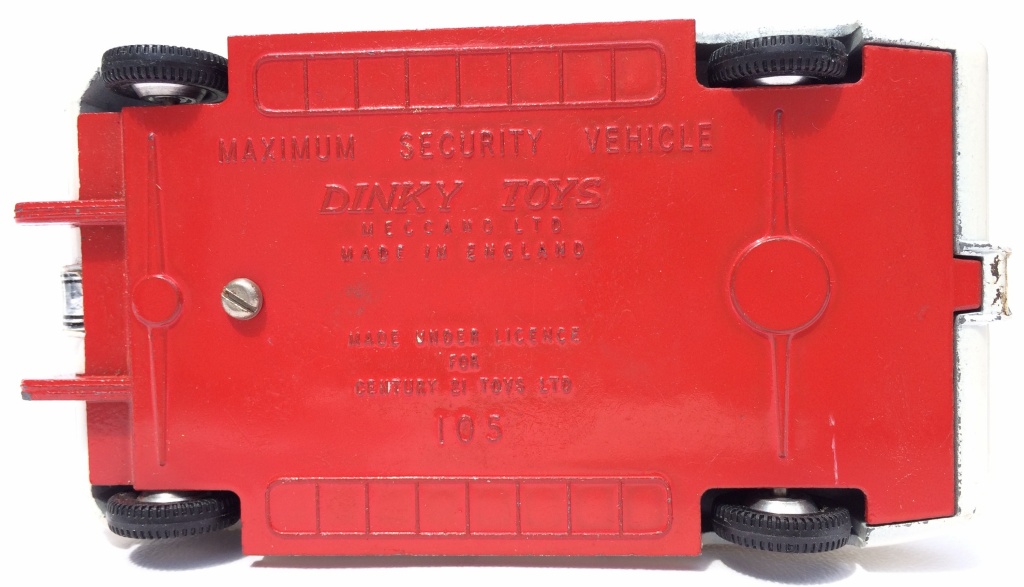
Introduced in 1968, the first version on 105 Maximum Security Vehicle was painted off-white with a red base, painted red stripes, decal transfers, spun wheels, open front windows and a red interior and red un-ridged steps.
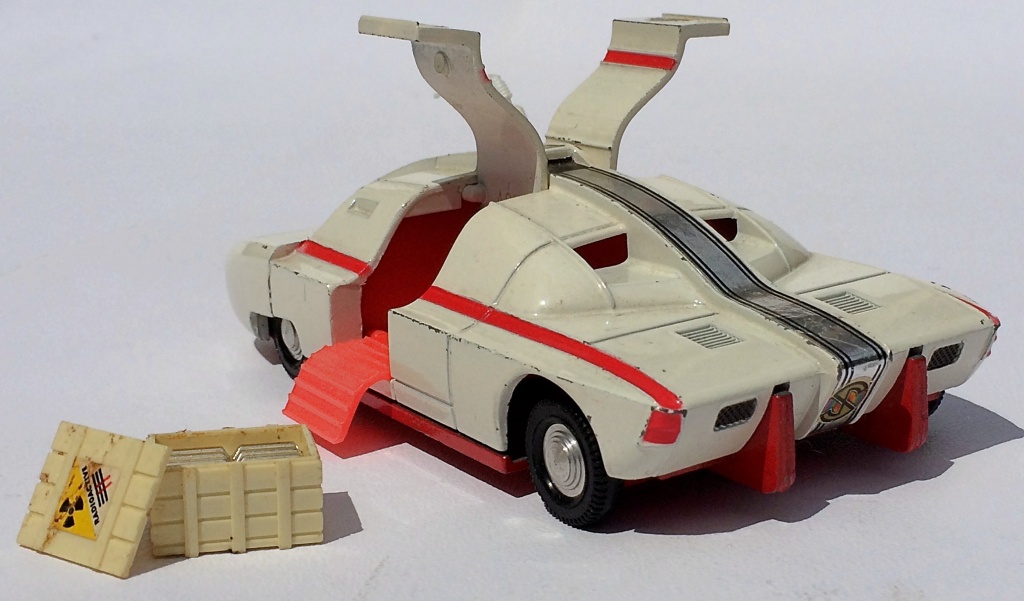
The MSV came with an opening crate containing ‘radioactive isotopes’ and an aerial similar to the one on top of the 103 Spectrum Patrol Car.
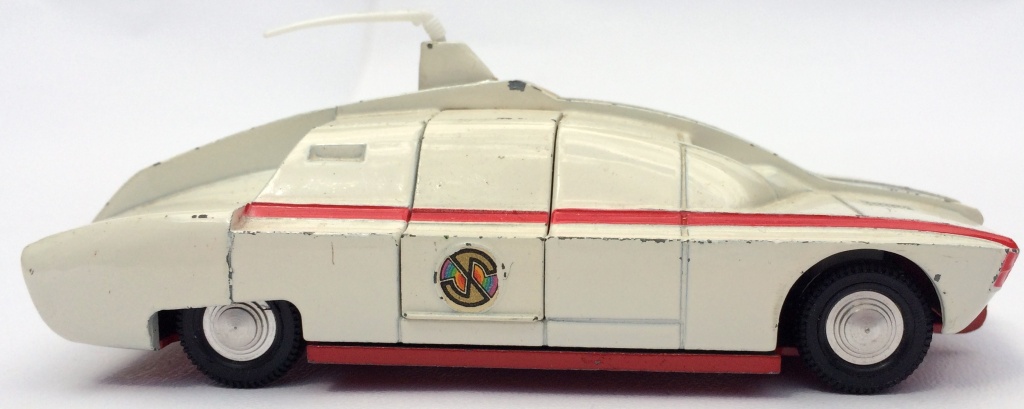
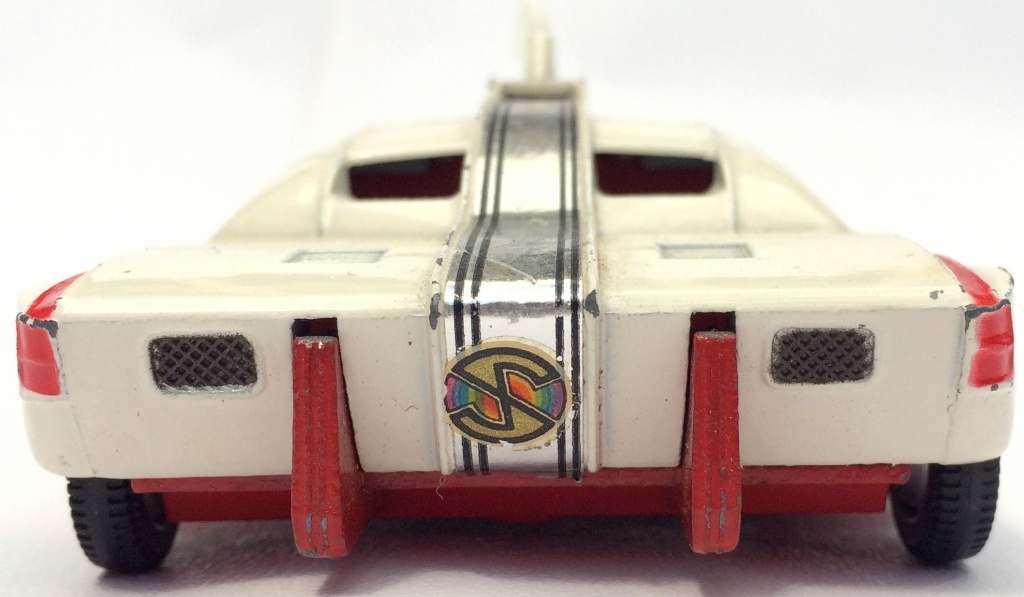

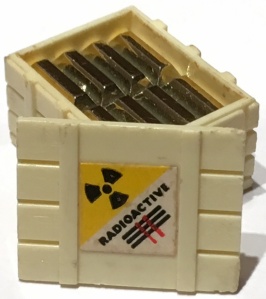
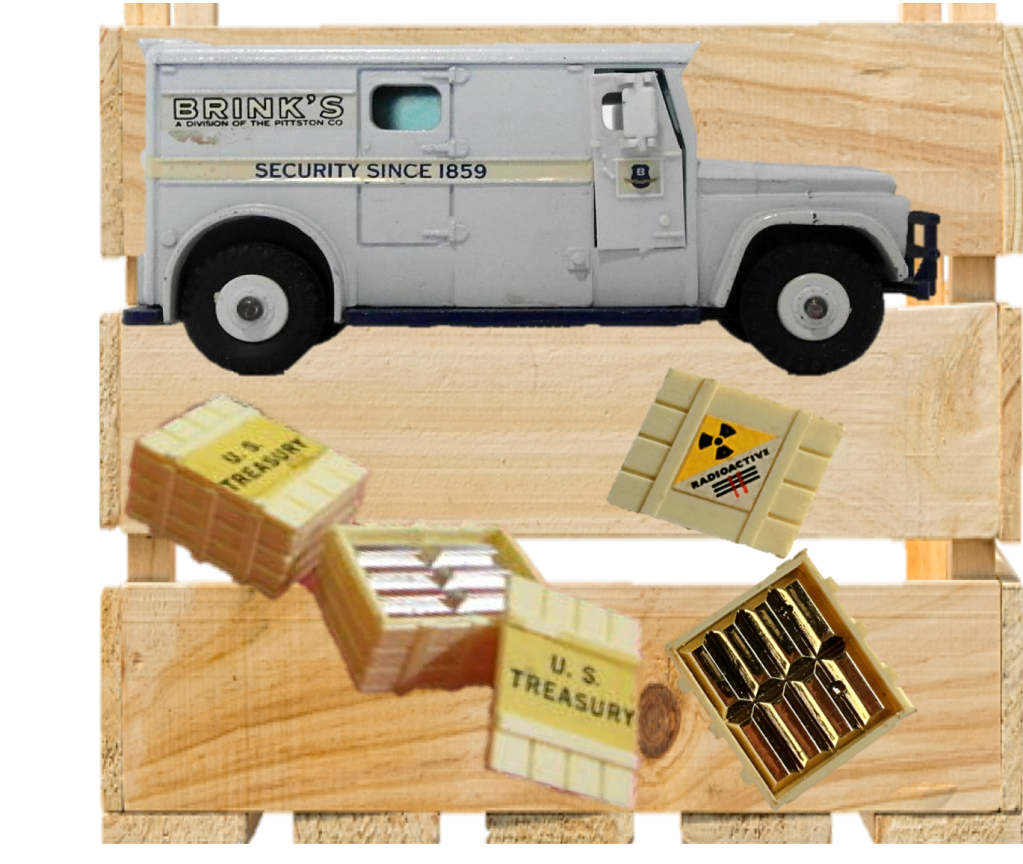
It came with a crate marked radioactive and contained ‘radioactive isotopes’ which looked identical to gold bars. But then the crates did originally contain ‘gold’ as they were transported around in the Dinky 275 Brinks Truck but labelled as ‘U.S. Treasury’.
IN THE TV SERIES:
The MSVs were virtually indestructible and deployed as unarmed, high security, personnel carriers, carrying VIPs or precious cargo in safety.

Maximum Security Vehicles were powered by two 10-cylinder diesel-engines, one at the front and the other at the rear, powering off-road, bullet-proof and self-inflating tyres. MSVs were 24 feet long, weighing approximately 18 thousand pounds (8 Tons), and had a top speed of 200 MPH. The MSV could even survive a nuclear attack as it was shielded by armour and hermetically sealed against radiation contamination.
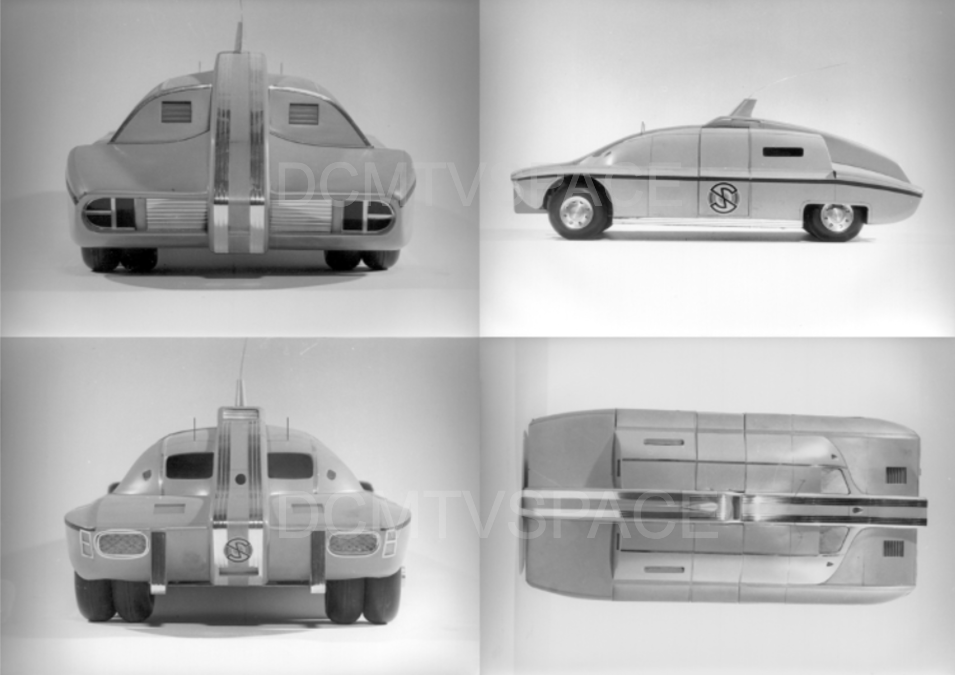
TV PROP v DINKY MODEL:
The model was a good portrayal of the actual vehicle used in the series. In fact all three Captain Scarlet models were good representations and faithful to the originals.
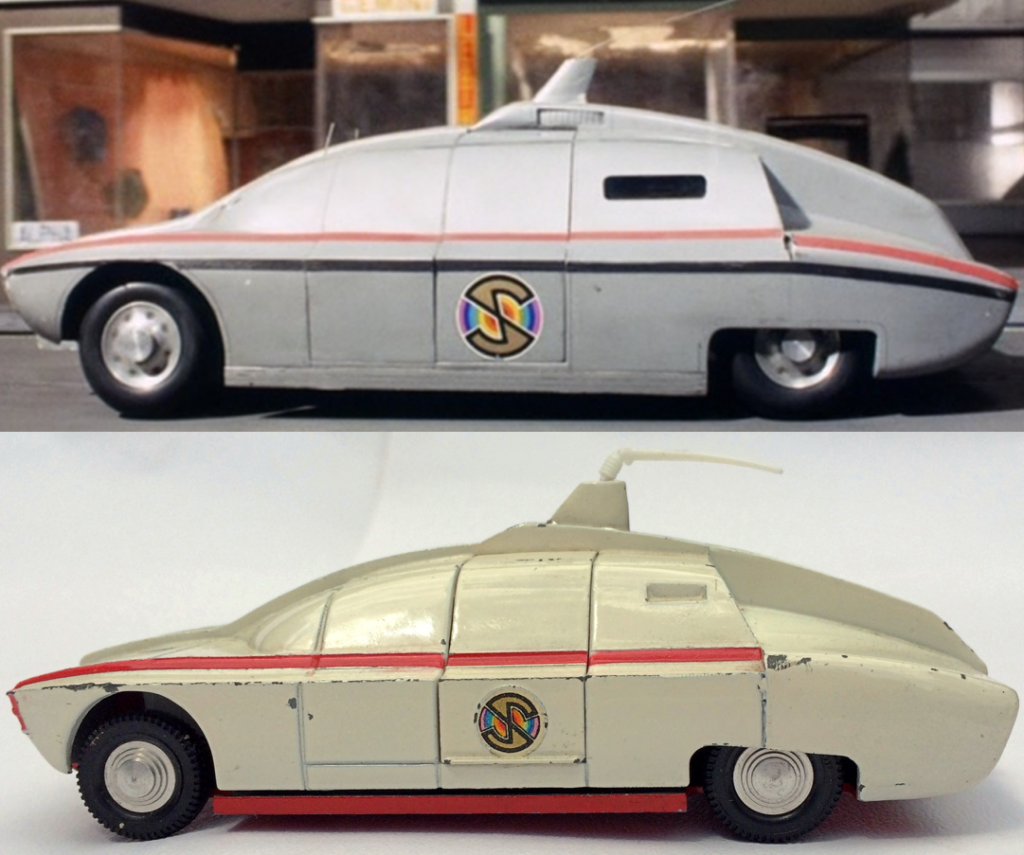
The only niggle would be the model colour which was white or off-white rather than a metallic grey on the prop.
VARIATIONS:
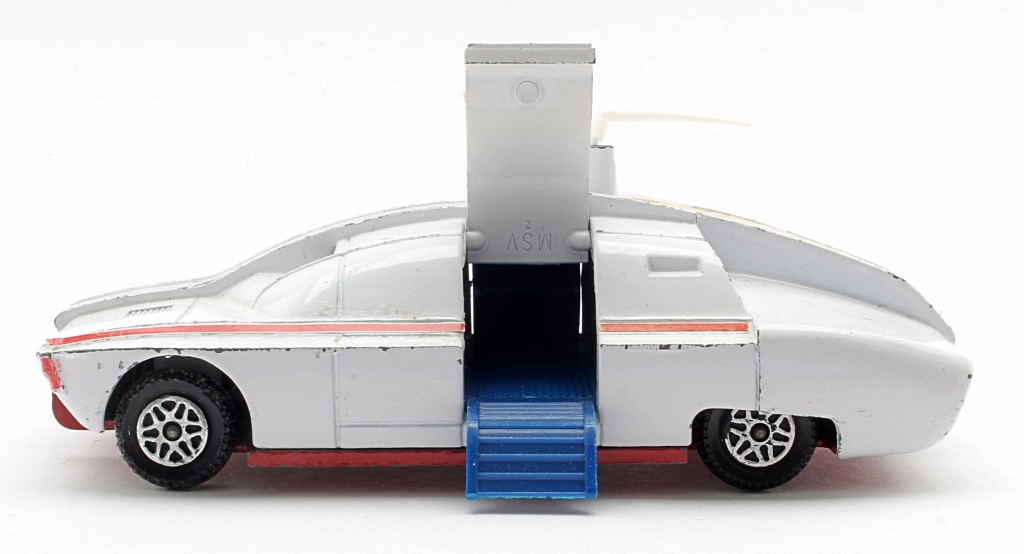
There were a number of variations to the model but most happened in the later stages of production. The most noticeable was to the interior. Red was used for the majority of the releases and till the end of the run but dark and light blue interior variants were also made.


WHEELS, DECALS AND DETAILING:
Initially decal transfers were used by these were changed to less colourful stickers which were cheaper and easier to apply. Painted red stripes were replaced with red stickers for the coachwork detail and the final issues were left bare. Spun wheels were replaced with 5 bolt wheels in 1972, when Dinky stopped using spun wheels altogether, As the Dinky range then converted to speed wheels they appeared appeared on the MSV in 1974. Interestingly the 1974 Dinky catalogue shows a MSV with spun wheels.
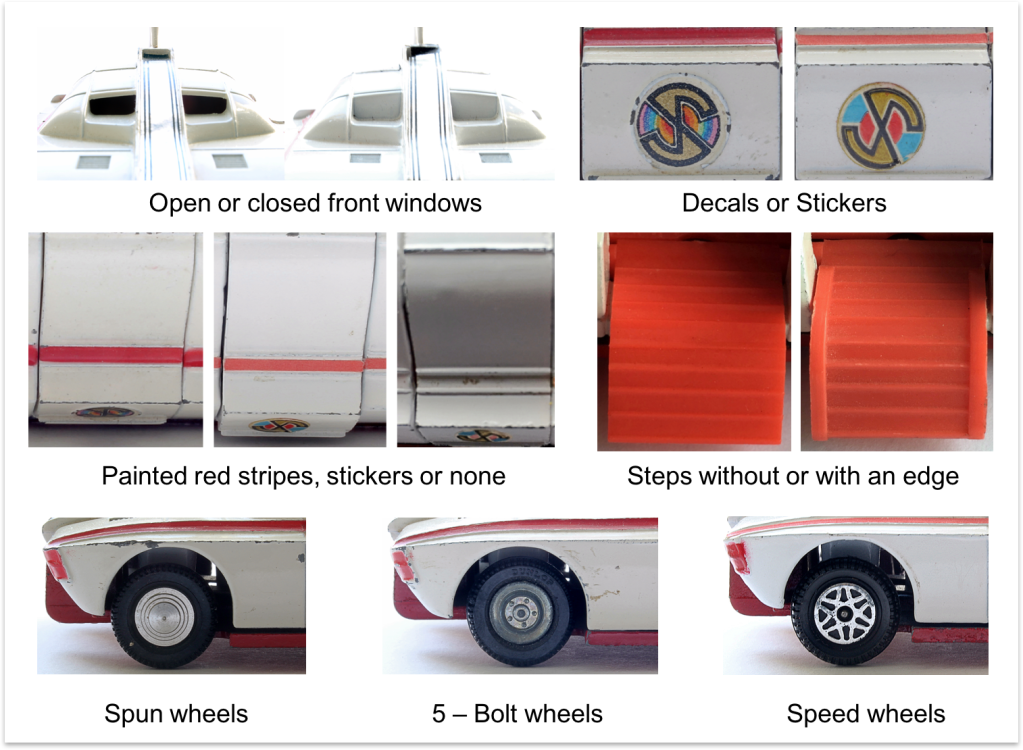
The first version had steps without edges and these changed for later models. The casting on the very last models omitted the open window and these were now blanked possibly due to a cast mould weakness or wear in this area.
BASES:
The majority of bases were red although the wording changed to omit the ‘Century 21’ licence text presumably after the company was sold to ATV. The number ‘105’ also disappeared.

As the production run ended different colour bases appeared although these are quite rare and the red bases appear on even the last models. Presumably this was to use up excess paint stocks.
ODDITIES AND RARITIES:
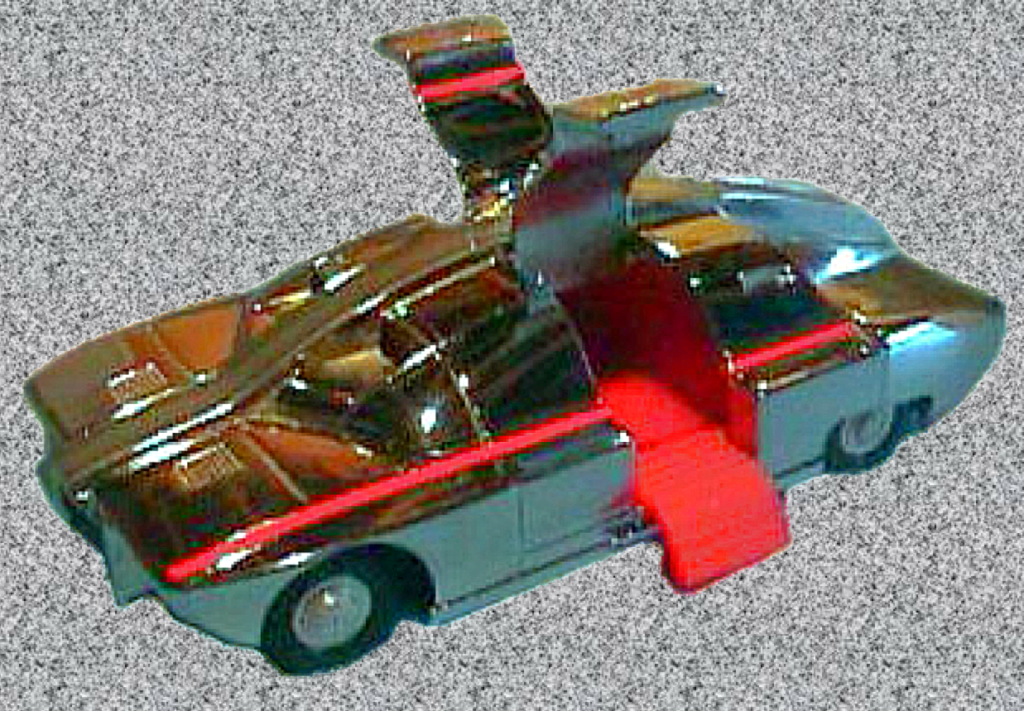
This metallic chromed version was produced for some lucky over-performing Dinky managers back in the 1970’s.
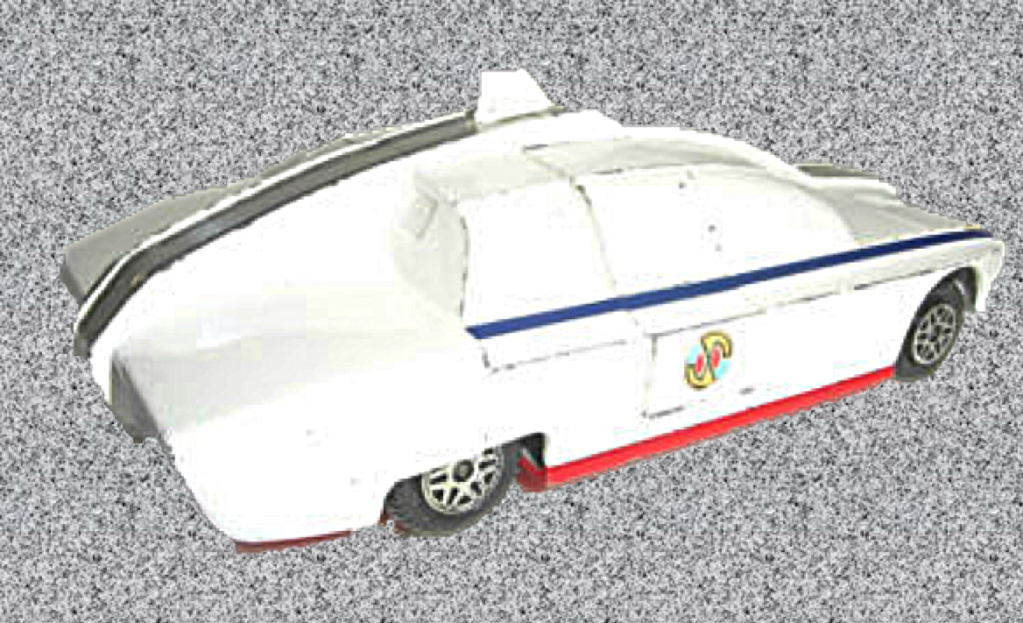
This version appears to have blue stripes.
BOXES:
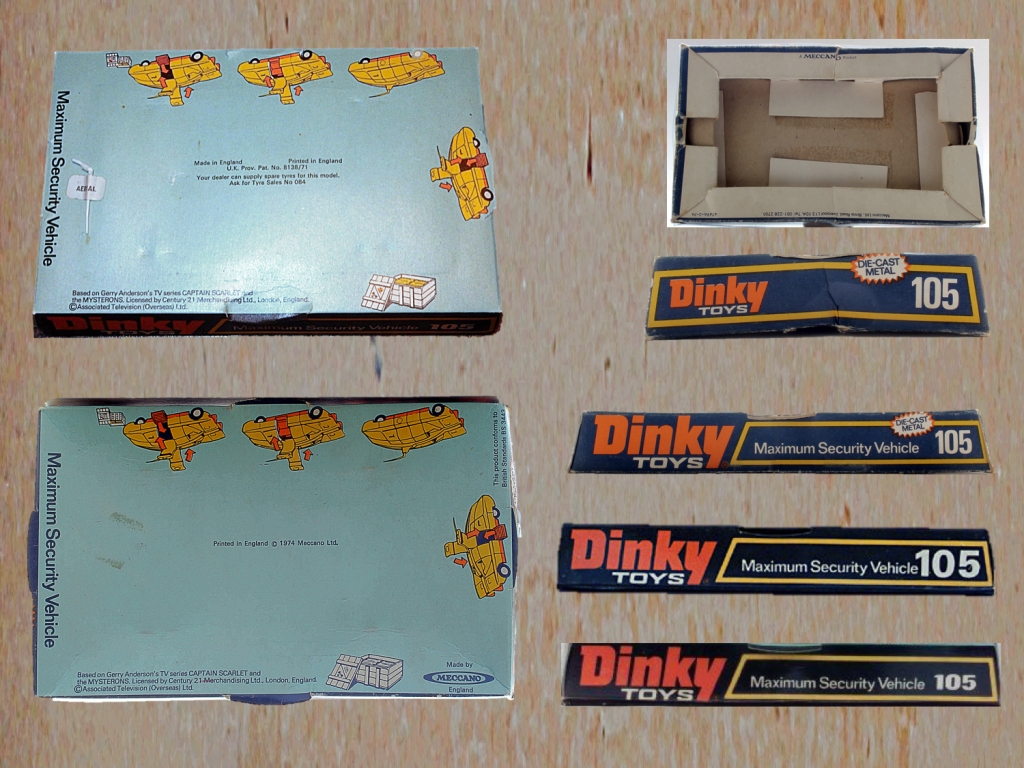
The first edition cardboard box had no insert like its companion vehicles the 104 SPV and 105 SPC but had a cardboard end protector as the toy was very heavy and it also had a cardboard ring aerial protector.
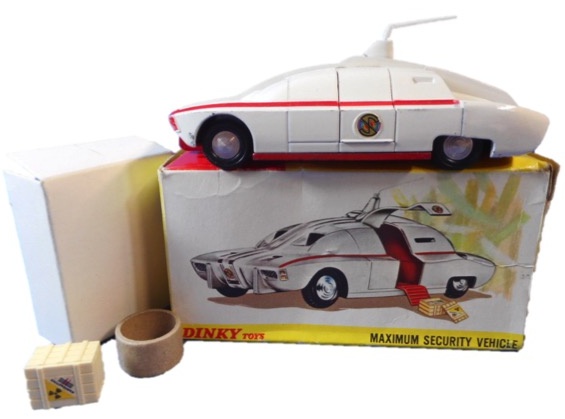
The last version of this box produced around 1972 and before the bubble box version, had additional text advising that: ‘Colour of model may differ from illustration’. In addition the box end text was changed from RADIO ACTIVE ISOTOPES to IMITATION ‘ISOTOPES’, presumably because of the issues Dinky had with similar wording on the 360 Eagle Freighter barrels labelling

The bubble pack was introduced in 1973.
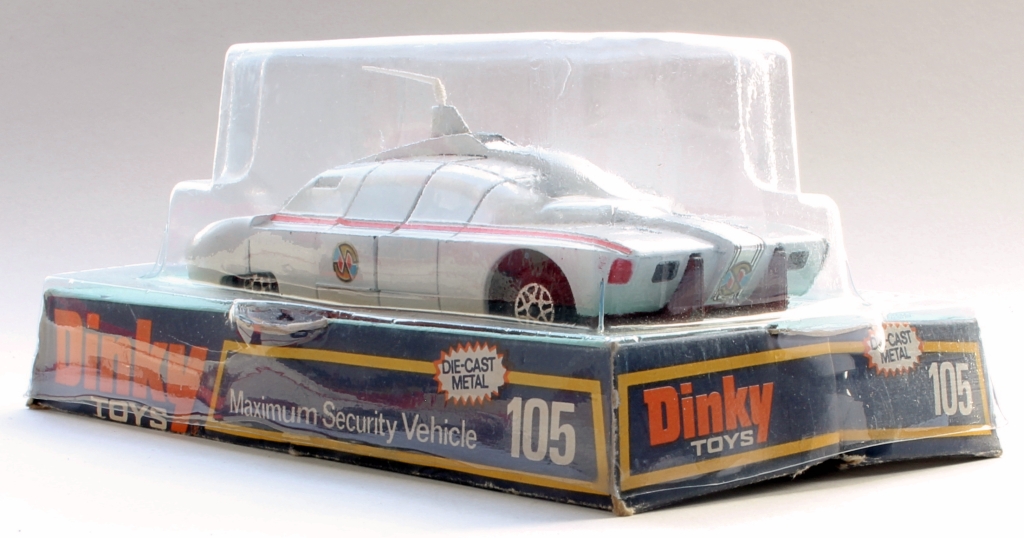
There were various changes to the lettering and the font size for the number ‘105’. Note the aerial taped to the base.
CATALOGUES:
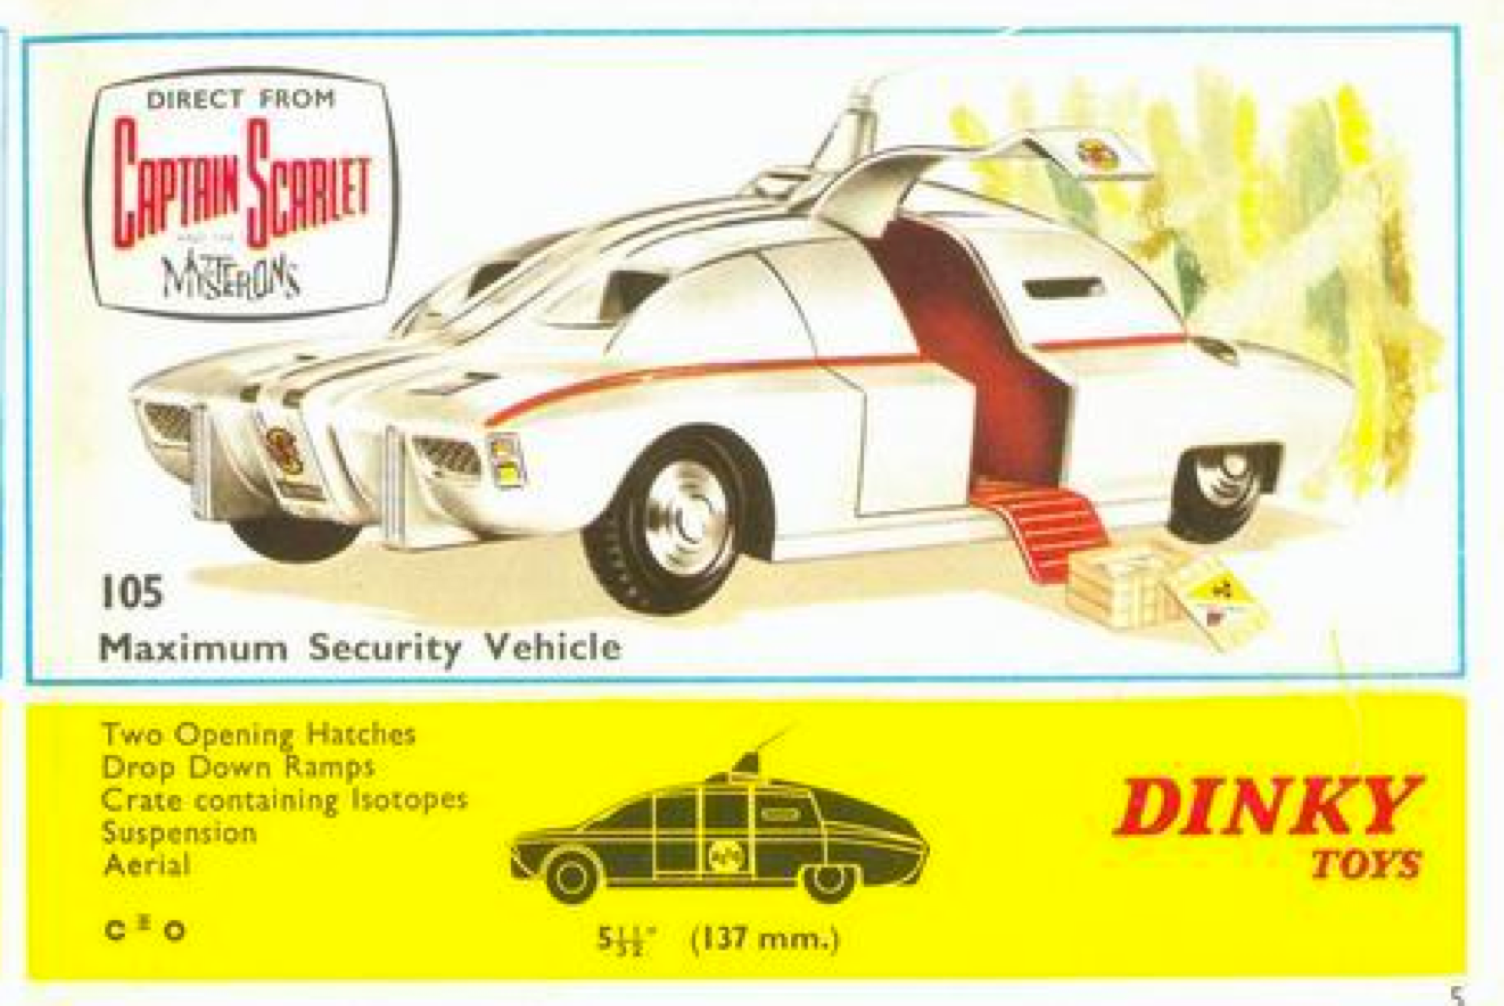
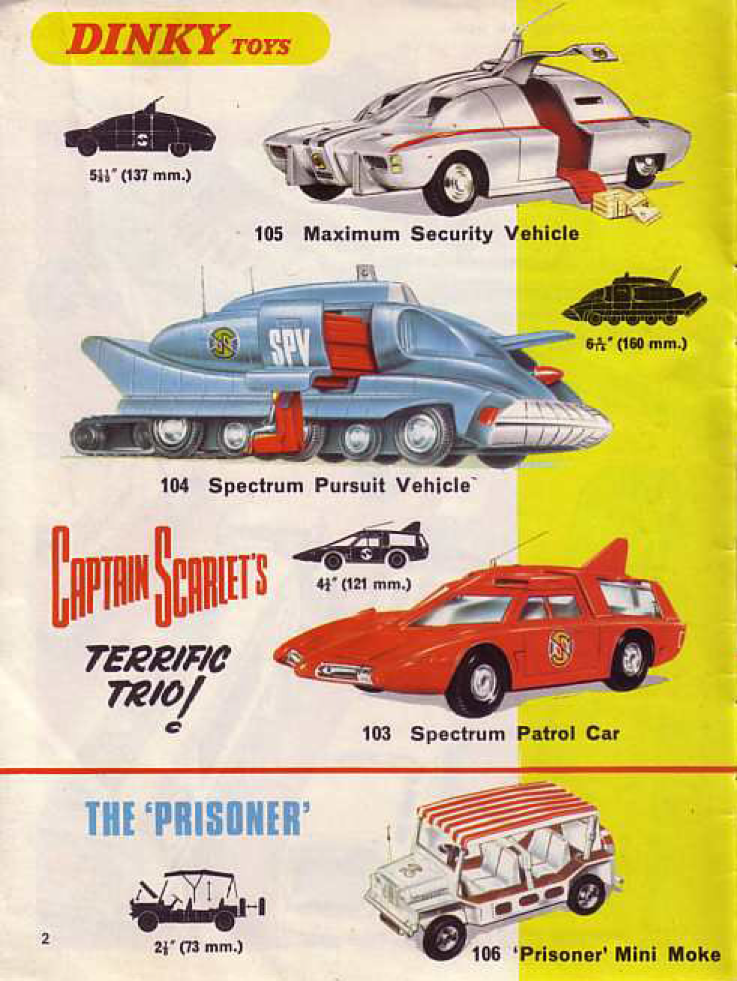
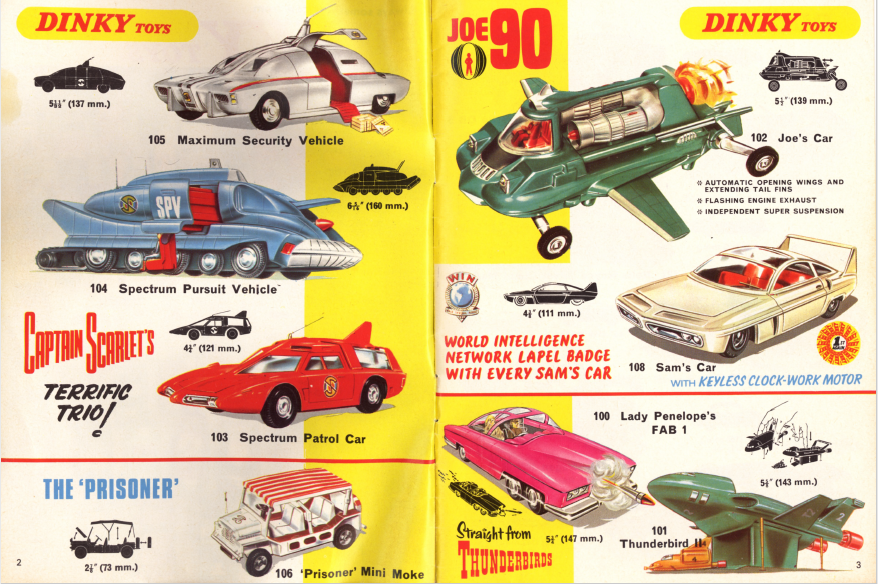
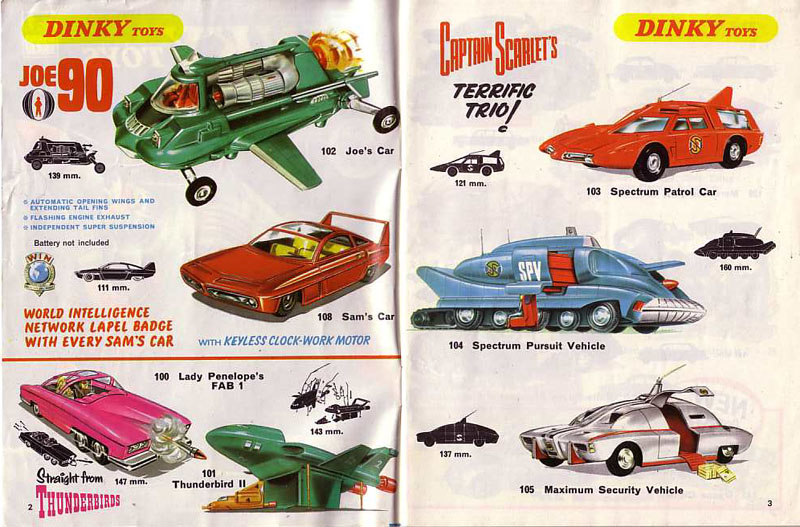
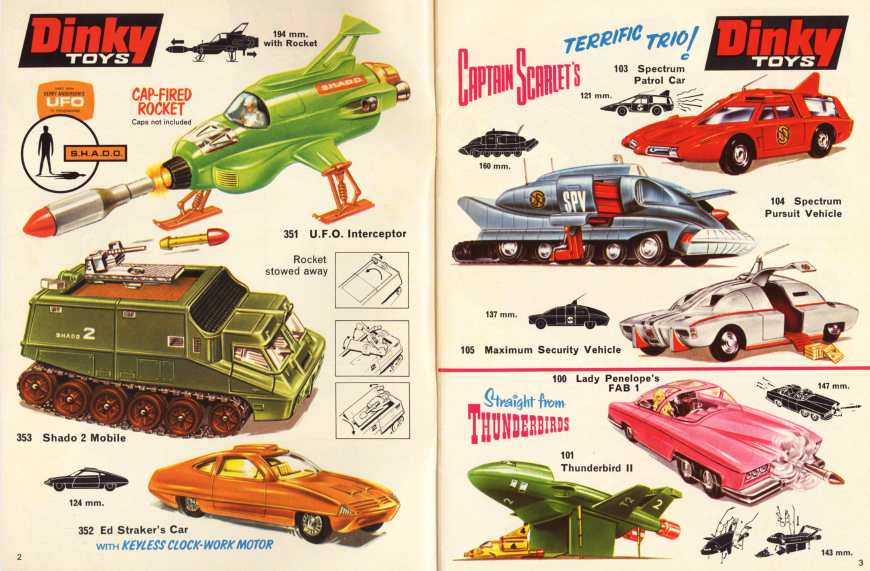
The 195 MSV made its first appearance in the 1968 UK catalogue and its last in the 1974 version.



ADVERTS:
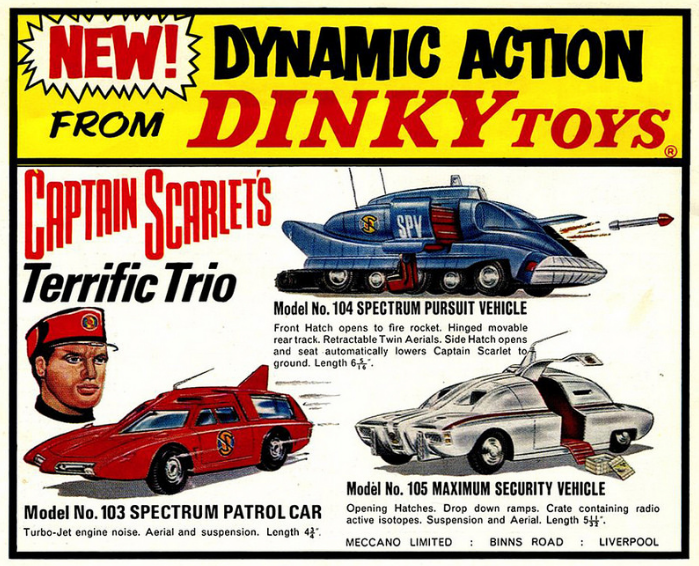
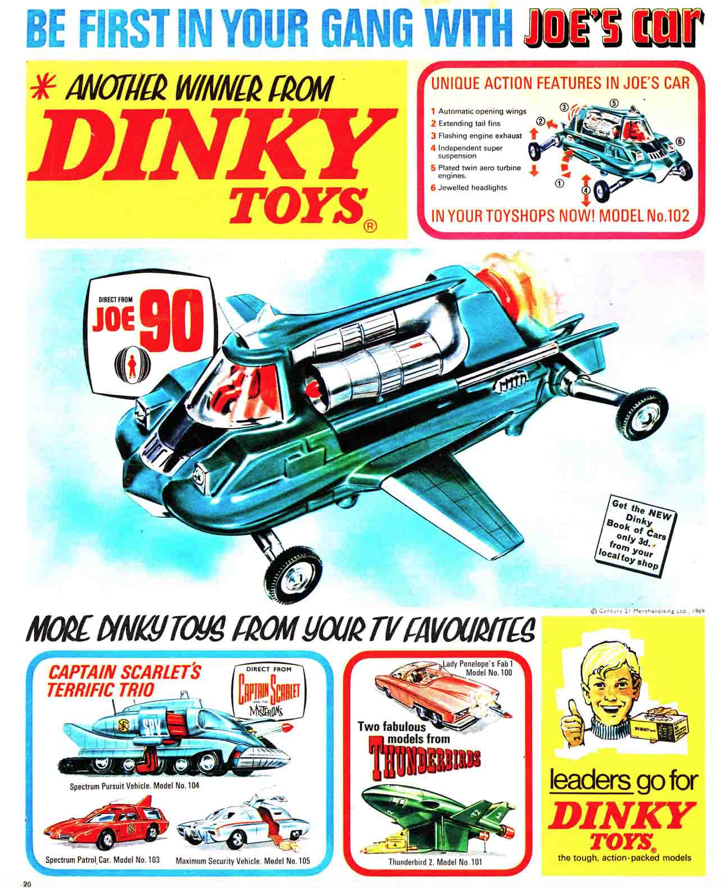

How do you keep the msv’s doors open?
LikeLiked by 1 person
Hello, I found (by accident) that if I rotated the red plastic interior 180 degrees the doors seem to stay open. Since the toy is held together with 1 screw it takes about two minutes to do. The top edge of the plastic interior provides the friction to hold the doors open. This wears down. You should be able to see the wear point where you remove the interior. If rotating the interior fails you might try building up the wear point on the plastic interior with something. I have use a thin layers of super glue to build build up layers of plastic in other applications. I don’t us the glue to hold parts together in this situation only to build up the missing area. This build up is done on the top edge of the interior with it out of the car. Do not put the interior back in to the car until the glue is completely cured (not just dry to the touch). This is a functioning solution for some cases. I am suggesting super glue since it is not a solvent glue so the plastic is not damages. People with more experience in restoration need to weigh in on the wisdom of the approach.
LikeLiked by 1 person
Hi Gavin, Mostly they stay open long enough to take a photo but close with the slightest vibration. I have a couple though that don’t stay open at all but can be temporarily held by blu-tac. Hope you are enjoying the site and please let me know if you have any additional info or corrections to add. Cheers Dick
LikeLiked by 1 person
Hi. To keep the doors open, the best and quickest way is to unscrew the model, and apply a coat of white matt paint to the door hinges and their recesses. This replaces the original factory coat of paint that would have worn off with play.
Obviously let the paint dry before reassembley.
Great site, have learnt alot. Chris C.
LikeLiked by 1 person
I remember these Captain Scarlet Vehicles especially #105 Maximum Security Vehicle. I played with this model on my first day of school, my only memory of that day!
LikeLiked by 1 person
Your memory filter is clearly set to retain important key information. On my first day I remember having to eat large white butter beans for lunch and after tasting one (yeuch!) put them in my pocket for my Mum to find a couple of days later.
LikeLiked by 1 person
I remember buying this model from a toyshop in Perth, Australia around 1977/78 at the age of 6 or 7.
If I remember, it had the light blue interior and I think you had to apply your own stickers to the exterior.
One question, I notice the steps available from restoration parts suppliers are sometimes metal. Were steps without edges always plastic or were they metal at some point?
LikeLike
Hi Shane, the car was produced by Dinky until 1976 so you would have bought one of the last versions. These could have light or dark blue interiors as well as the more common red. I have not heard of the stickers being provided separately for the purchaser to stick on and would really like to see an example of that if anyone reading this has some. The steps of the original models were always plastic, the metal version are reproductions. Thanks for visiting the site and commenting, always good to hear from fellow enthusiasts. Cheers Kevin
LikeLike
I grew up in Texas and had one of these. I cannot remember the year I had it, however, I was 10 in ’76 and that seems like probably the right time frame. I had no idea what it was or that there was TV show at all. I discovered Captain Scarlet in the mid 90s, in fact and it was a few years before the memory of this resurfaced.
I distinctly remember the red interior, the silver stripe down the middle, the gull wing doors and the red bottom with the big screw in it. I don’t remember much else about it, other than it was a neat, wildly different sort of car than the run of the mill Hot Wheels and whatever else I had.
No idea what happened to the one I had, but watching the show spurred me to do a Google search, and here I am.
LikeLike
Great memories, Jack, and thanks for sharing. Be careful though, you start thinking I’ll buy just this one Dinky and then its the slippery and expensive slope to being a collector! Cheers Kevin
LikeLike
Yup, I bought one, then 75 more, then other similar vintage toys, then tin toys, then Tonka, NYLINT, Wyandotte, Marx, and more!
LikeLiked by 1 person
Hi. I have the Maximum Security Vehicle and would like to attempt and 3d print a replacement Crate and contents for it. Would you or any of your contributors have one you could give me measurements of please? Cheers in advance and great site by the way. John 🙂
LikeLike
Hi John, Strangely although the crate was made in Imperial times, it measures 2cm x 1.5cm based on using a metal ruler. I don’t have a micrometer or a more accurate way of doing these measurements and of course there are raised details and the ‘gold bars’ to consider. Perhaps someone else can help with this. Cheers Kevin
LikeLike
Thanks Kevin.. That’s a great start and much appreciated. If anyone else has additional details that would be FAB (I know – wrong series 🙂 Cheers. John
LikeLike
Hello, I found (by accident) that if I rotated the red plastic interior 180 degrees the doors seem to stay open. Since the toy is held together with 1 screw it takes about two minutes to do. The situation being corrected is that top edge of the plastic interior provides the friction to hold the doors open. This wears down. You should be able to see the wear point when you remove the interior. If rotating the interior fails you might try building up the wear point on the plastic interior with something. I have use a thin layers of super glue to build build up layers of plastic in other applications. You will need to apply the super glue in very small amount using a tooth pick so it does not run down the sides of the interior. The glue is not being used to hold parts together in this situation only to build up the wear area to restore the friction. This build up is done on the top edge of the interior with it out of the car. Do not put the interior back in to the car until the glue is completely cured (not just dry to the touch). This is a functioning solution for some cases. I am suggesting super glue since it is not a solvent glue so the plastic is not damages. People with more experience in restoration need to weigh in on the wisdom of the approach.
LikeLiked by 1 person